How to make real color photos with your Game Boy Camera
In this how-to I will show you how to make actual color photos with the b&w Game Boy Camera. All you will need is some Red, Green and Blue filters.
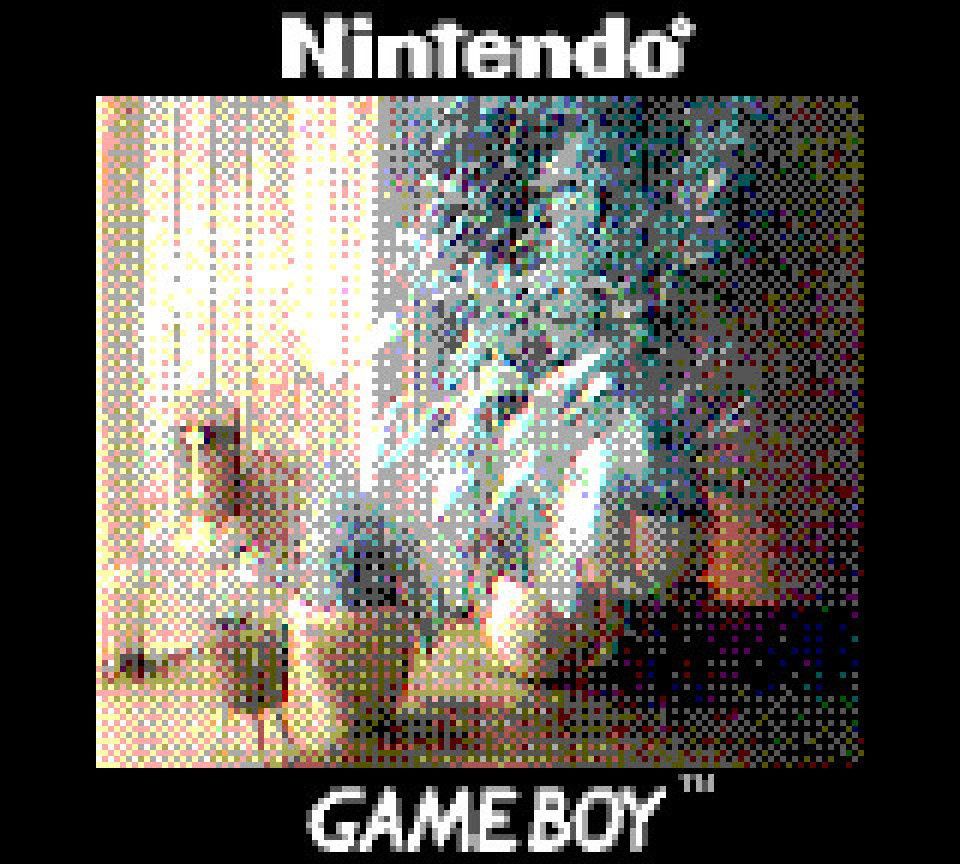
If you follow this tutorial, I'd love to see your results in the comments! Or tag me (@gameboycameramaniac) on Instagram.
Shortly after I wrote on this site how you can create fake Game Boy photo’s, I finally got the link cable I needed and made an Arduino based printer emulator to get my photo’s to my Mac.
Of course I started shooting a lot of photo’s (and made a dedicated instagram account) in black and white, but I also saw some color photo’s online and started to look into that. In essence the process is really simple: take 3 photo’s through a red, green and blue filter (something like this) and combine them in Photoshop or in Gimp to reproduce the colors.
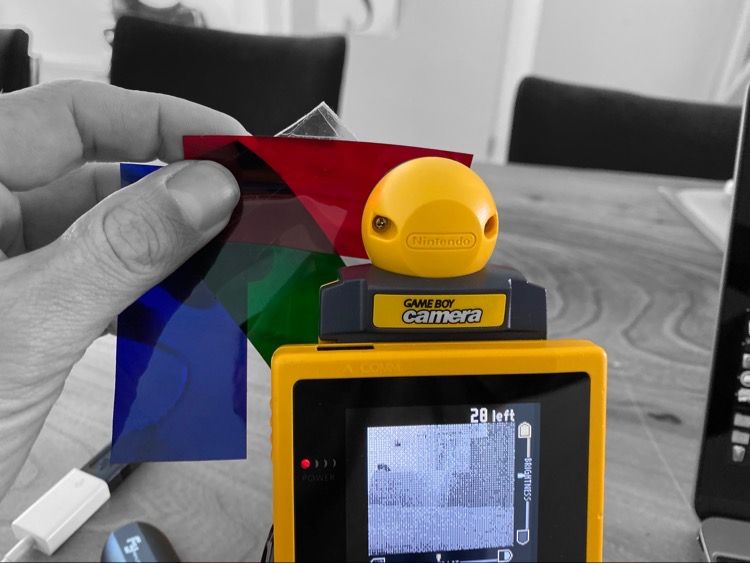
I decided to design a filter holder that would fit on the camera, but changing the filterholders without moving the camera proved to be quite the challenge. Therefor I went back to manually holding a strip of filter in front of the camera. Just tape al three colors together like the image below and slightly bend it to keep it flush to the front of the camera. If you want to give the printed holders a try, I made them available on Thingiverse.
The result of my efforts can be seen on my dedicated Game Boy Photo instagram account @GameBoyCameraManiac
So here is the how to:
Step 1. Take the photos.
First take a photo using the red filter, then the green and then the blue. I always stick to this order because it’s hard to identify the photos later if you don’t. Just wait for the camera to adjust exposure and take the photo. The challenge is to not move the camera between shots. It’s hard since the head can turn and might have some play.
Step 2. Import your photo’s to your PC or Mac
There are many ways to do this. I am using the Arduino method mentioned above, but you can also order dedicated hardware like the BitBoy or Game Boy Camera Wifi Printer.
Step 3. Open the files in Gimp
Gimp is a free, open source photo editing program which works very well for this. Photoshop will also work of course, but since Gimp is free I’ll use that in this how to.
Step 4. Make sure the images are in grayscale
In my case the images look grayscale, but internally use an RGB palette. For the next step the image mode needs to be grayscale. Check, and if necessary convert your photo’s in Gimp using Image -> Mode -> Grayscale.
Step 5. Magic!
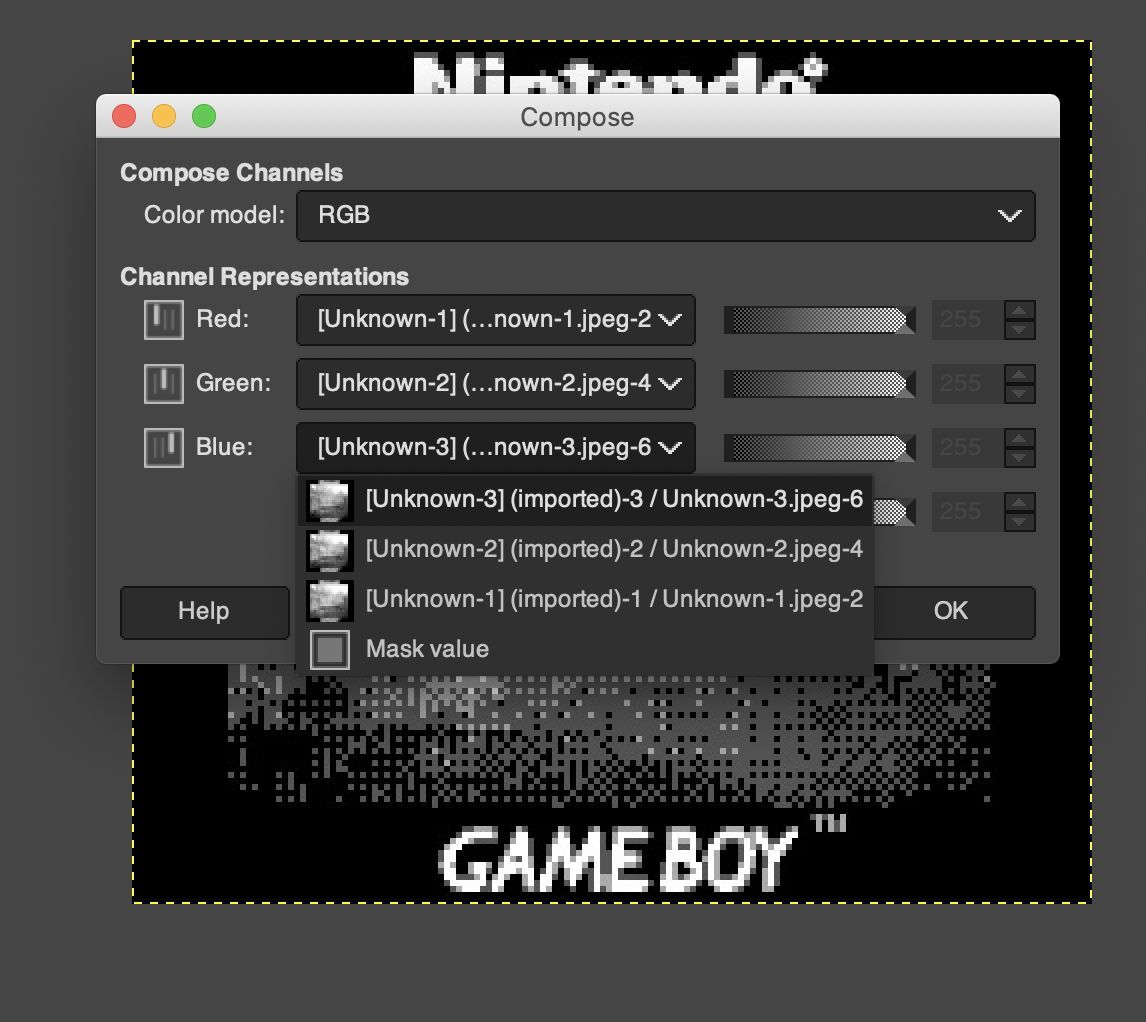
Now, while one of your photo’s open, click Color – > Components -> Compose. This is where the order of the photo’s becomes important. Make sure it says RGB in Color Model, and select the right photo for each channel from the dropdowns and hit OK. This is where the three photo’s are combined into one, and a beautiful Color GameBoy photo appears.
General tips:
The process isn’t flawless and results vary a lot. For outside photo’s you need to add an IR filter like this. Without an IR filter you best take your photos under LED light.
Keep the camera still. If you don’t you get all kinds of colored edges.
Let the camera adjust it’s brightness by itself. For the filters I used the red let a lot more light through than the blue one. When I tried with fixed brightness (you can do that by using panorama mode which fixes the brightness to the brightness of the first shot) I got very poor results.
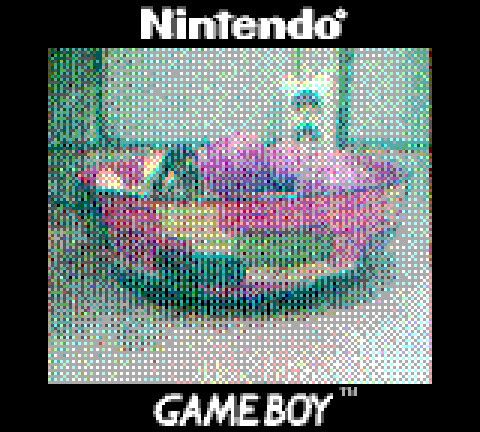
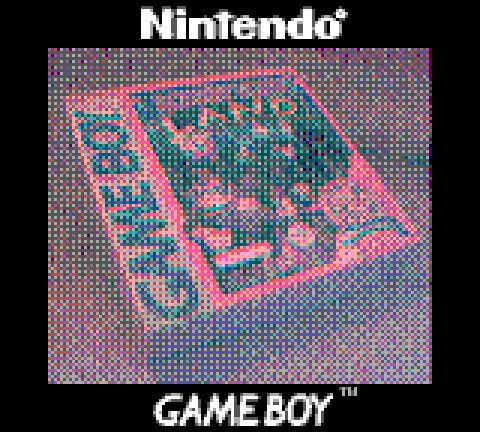
Pro tip:
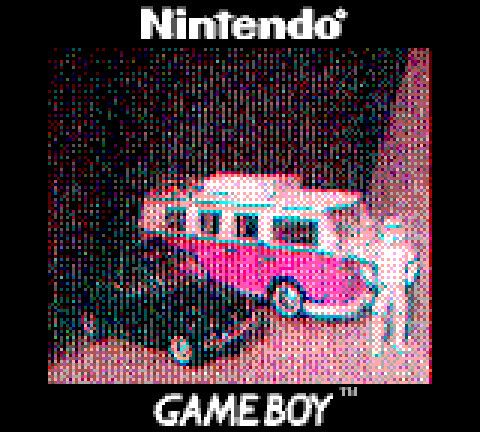
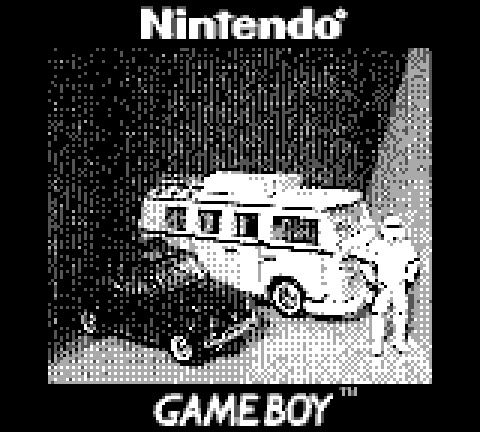
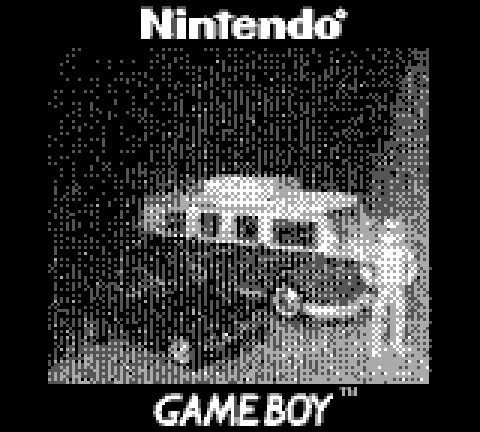
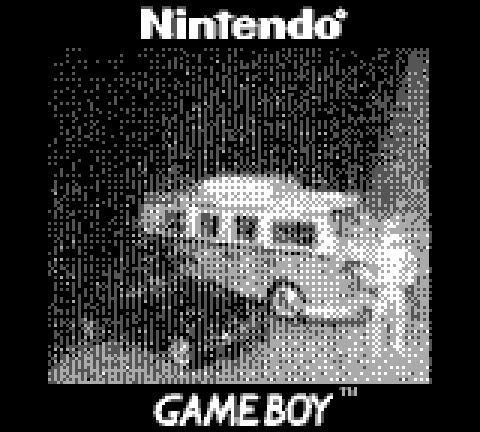
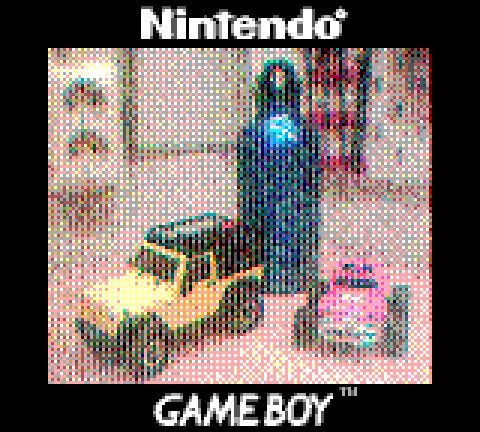
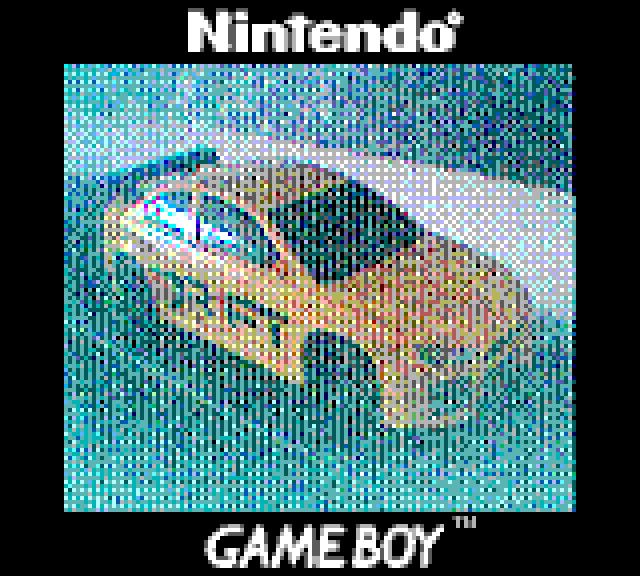
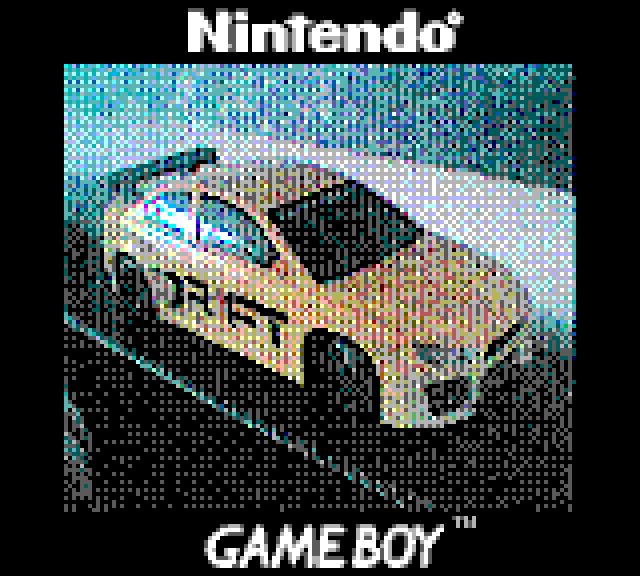
Make one extra non-filtered photo and add it as an extra layer with blend mode "Multiply" (sometimes "Darken" might work too, but Multiply seems to keep more color and add more contrast). This can dramatically improve the quality. See below. The first photo is without the extra layer, second one with the extra layer. The car is standing on a black box on a black piano. Credits for this tip go to @kafukusan_no_gameboycamera on Instagram.
Check my instagram account for more:

