How to tranfer photos from the Game Boy Camera to your computer in 2020?
The Game Boy Camera really is an awesome camera, but how do you actually transfer the photos to your PC?

[Please visit the Game Boy Camera Wiki for a more up-to-date version of this page]
The Game Boy Camera really is an awesome camera. It is so extremely limited that it forces you to take a completely different approach to photography. 128x112px, 4 shades of gray, no dynamic range at all etc.


The Game Boy Camera can store 30 photos. That's it. If it is full, you can print the photos using an official Game Boy Printer in an even worse quality than the photo on screen or you can share them with another Game Boy Camera via a link cable. There is no official way to transfer the photos to your PC or your smartphone at all. Thankfully, there now are some options to download the photos to your PC or smartphone. Most of them emulate a Game Boy Printer, but in stead of printing the received file they somehow store it so you can use it on Instagram or wherever you like.
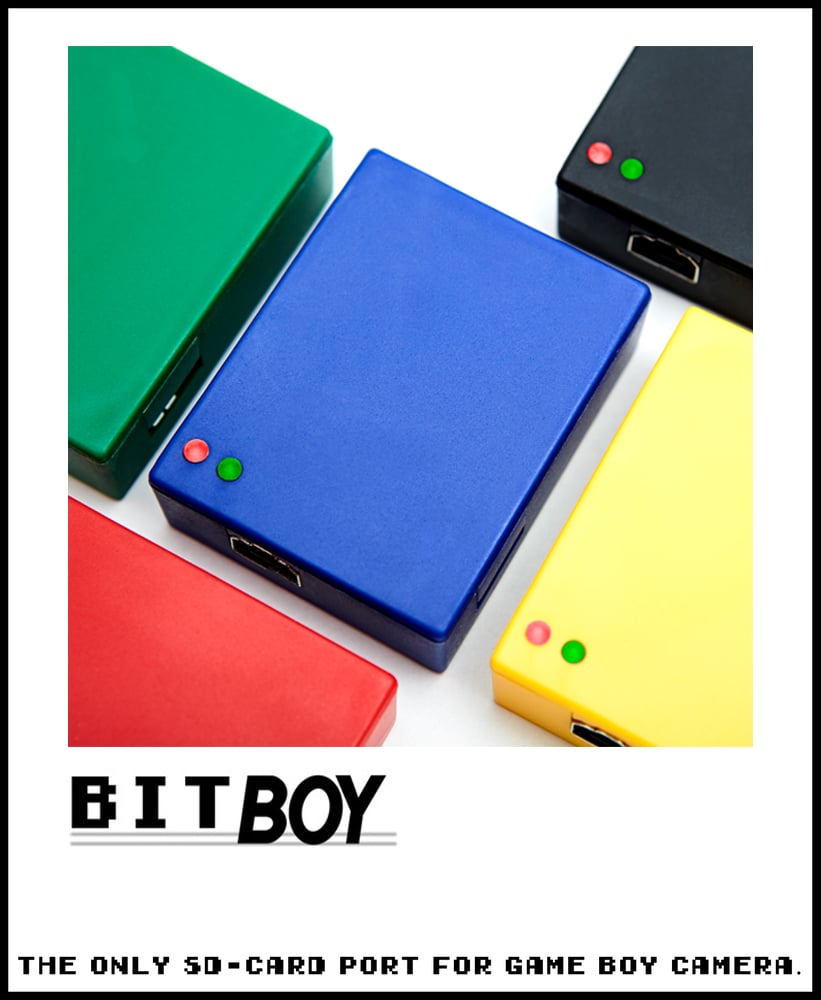
Option 1: The easy (but not very cheap) way.
The most polished and simplest solution to get the photos from the Game Boy Camera on an SD card is the BitBoy. It has it's own battery, and uses a SD card to store the photo's. You can even print photo's in batch and it still stores it as seperate files, which makes it a breeze to simply extract all photos from the Game Boy Camera. On the go, with only a Game Boy Link cable (which comes with the BitBoy). When at your computer, simply insert the SD card and copy the photos.
It is also possible to print from games that support the Game Boy Printer. I don't know if it is limited to the games listed here though.
At a price of $100 this solution isn't cheap, but I'd say it's well worth the money if you are serious about Game Boy Photography.
Option 2: Almost as easy, but way cheaper.
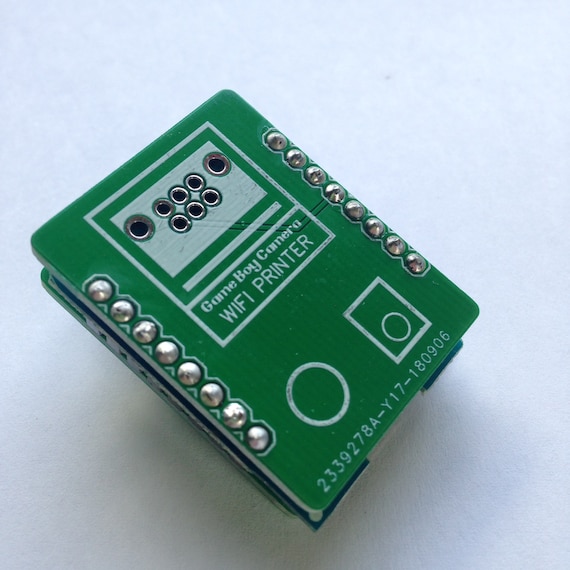
On Etsy you can buy the Game Boy Camera Wifi-Printer. With a price of €26 it's considerably cheaper than the BitBoy. It still emulates a Game Boy printer, so you can simply print to the Game Boy Camera Wifi-printer. It also supports batch printing to quickly dump multiple photos. Printing from games which support the Game Boy Printer is also possible, but mostly untested and not guaranteed to work.
To finally transfer the photos to your pc, mac, tablet or smartphone, you can connect to the wifi hotspot of the printer, and enter it's IP address in the browser. You'll then see a website where you can download the photos one by one. Due to hardware limitations there is no option to download them all at once.
It is possible to change the color palette when downloading which is a very nice addition. You can choose for the black and white palette, or for example the green pallete of the original Game Boy. This also works with a smartphone or tablet, which makes it extra useful if you want to post to Instagram directly. A downside of this solution is that the Wifi-printer needs USB power to work. If you want to use it on the go, that means you need to take a powerbank with you as well.
Update: The intent is to make the software of option 6 below compatible with this WiFi printer to give the WiFi printer a much more advanced interface.

Option 3: The harder but almost free way.
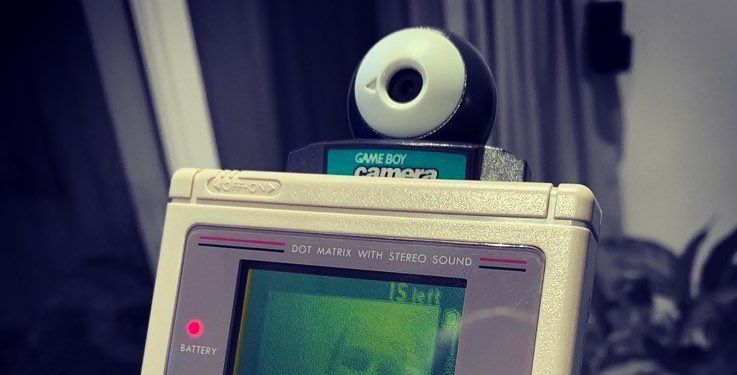
If you are looking for a very cheap solution and you have no trouble with programming an arduino and do some soldering, you can also use an Arduino Nano with a cut link cable. This is the method I currently use. I paid around 3 euros for my Arduino Nano clone from china and 3 euro's for a cheap Game Boy Link cable clone. I then followed this guide to create the contraption below.

To tranfer, connect the Arduino to the Game Boy Camera and your PC, and use the serial monitor of the Arduino Software to capture the print output of the Game Boy Camera. Copy-Paste this output in the webtool you can download here to convert this data into an image. As far as I know, this solution only supports the Game Boy Camera prints, and doesn't work with other games that support the Game Boy Printer. With some extra coding it might be possible though.
It works, but it's a lot of work to transfer multiple photos, and you can only do it when at your PC/Mac.
Option 4: With a cartridge reader
It is also possible to buy a game cartridge reader. They are usually pretty expensive though. With such a reader you can copy the save file from the camera and extract the photos with for example this website. A pro is that with such a reader you can also backup save files from other games. An advantage of this method is that you can also download the deleted photos from a Game Boy Camera since they are not actually deleted, but only made invisible. This can give some very nice finds when dumping a Game Boy Camere you just bought.
A nice plug-and-play cartridge reader is the GB01 from Submodule.co which I am using myself in my treasure hunt for lost photos.
Option 5: The cumbersome way with mainly original hardware.
You can also use the Game Boy Camera in the Super Game Boy cartridge for the Super Nintendo. Then connect your Super Nintendo to a capture card of some kind and record the video or make screenshots (depending on the capture device). Although this works, the result will be not as sharp as the other options since you are screenshotting a video feed and not transfering the image data directly. Might be nice as an experiment though.
Or you can use the combination of an N64 + everdrive + transfer pak (obviously n64 controller) and the homebrew GB64. With this you can dump the cartridge to the Micro SD.
Which option is the best option?
I think that if you are serious about Game Boy Camera photography the best solution is either the BitBoy or the Game Boy Camera Wifi-printer. Both have their pros and cons. The choice depends on what you want to do with the photos. The BitBoy fits perfectly in a more traditional workflow like with any digital camera, where the PC is the place to edit and publish. The Wifi-printer fits perfectly in the social media workflow where you upload the photos to your smartphone and then to the social media platform of your choice.
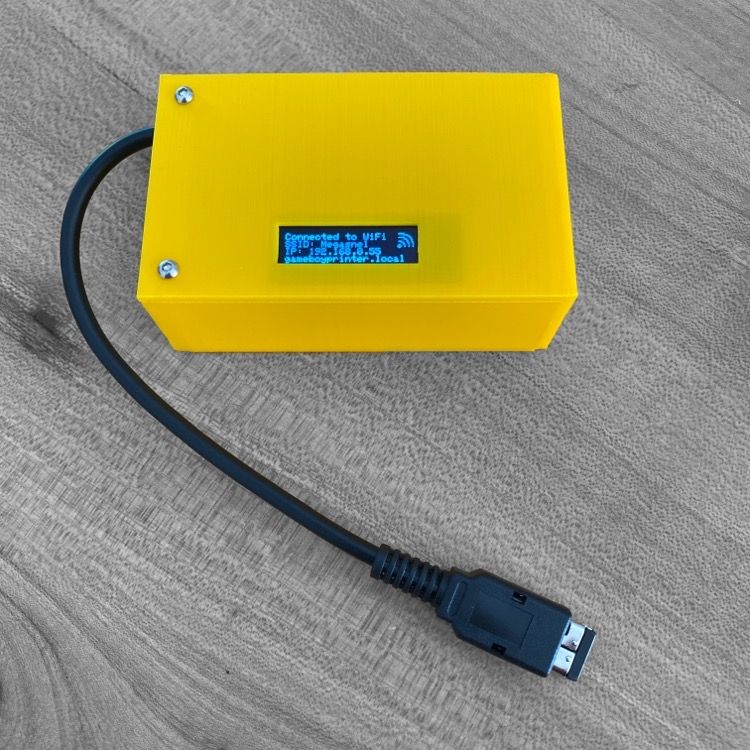
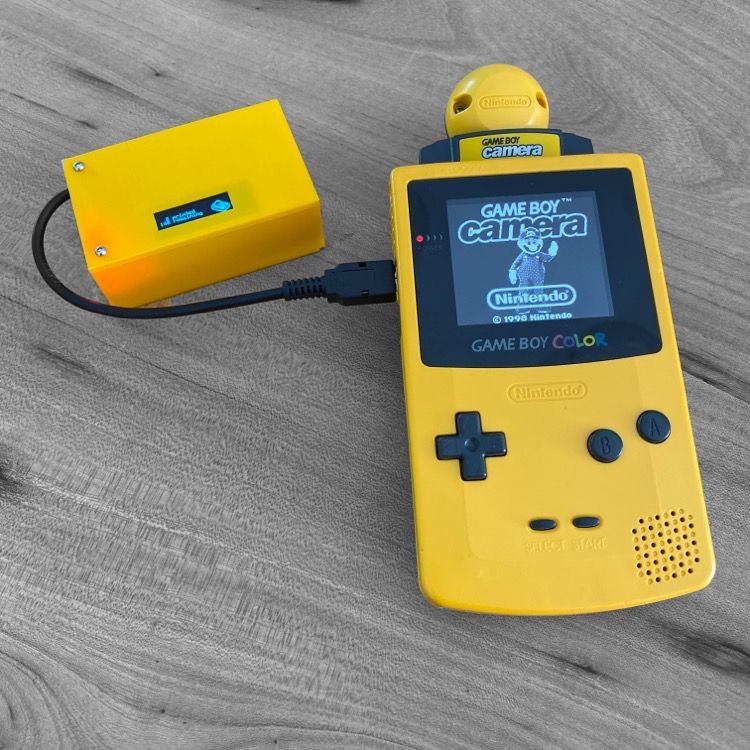
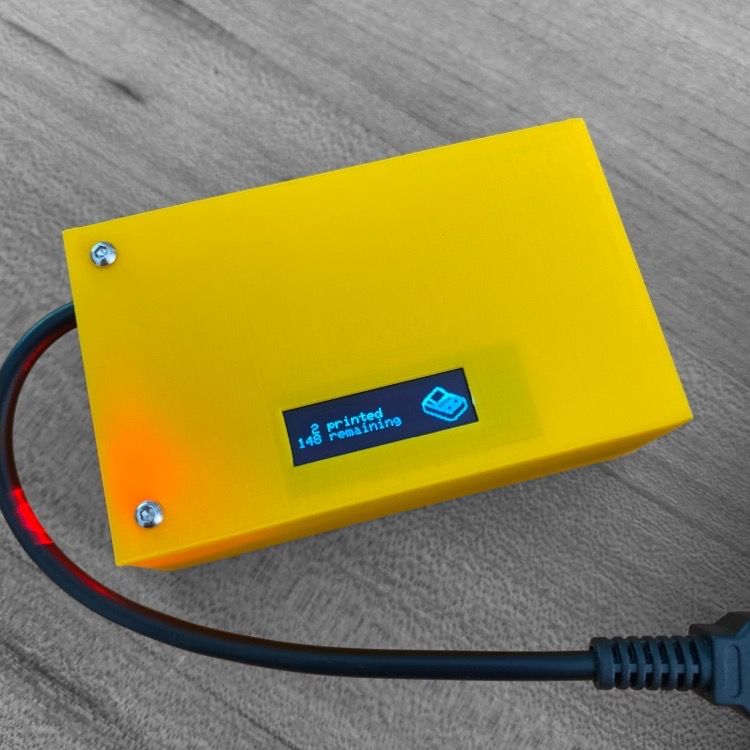
UPDATE: Option 6.
At the moment of writing, this option is still work in progress, but it is becoming the most awesome option of them all. Below is my personal prototype. It has a built in webserver running @Herr_Zatackes great webtool. It can be equipped with a small OLED display and a battery, and it can connect to existing wifi, or if none available, it creates a hotspot. It also works fine with a smartphone, so it's a great 'on-the go' solution.
You can find more information on the project here, or join the discord to follow the development. Currently a manual on how to build one is not yet available, but if you know your way with the arduino IDE and a soldering iron, it isn't that hard.
Another interesting fact is that the intent is to make the software that is running on this hardware available for the Wifi printer in option 2.